Friday, May 26, 2017

Weber Smokey Mountain Cooker Smoker - 18.5 Inch


After much research and agonizing over which smoker would be best for my family, I decided on the Weber Smokey Mountain Cooker smoker - 18.5 inch version!

I was debating to get either a Traeger pellet smoker or perhaps a Masterbuilt electric smoker, but decided that to get that real smoke flavor, I needed to go to charcoal smoking with wood chunks added.

My nephew has a Traeger and the quality of his food is top notch!  But I also read that some of the Traegers had issues with the auger not pushing the pellets consistently and that it could clog.  Also, some Traegers were running heat way above the settings on the electronics and causing all sorts of problems.  While this has not happened to those whom I know have one, it has happened to others.

The electric smokers to me seemed more like an outdoor electric oven more than anything else and that the small wood chips used just would not be enough to get that barbecue flavor that we all want.

In the end, after researching the various charcoal smokers out there, the Weber Smokey Mountain Cooker smoker made the most sense to me.  Flare ups are controlled by the water pan that separates the coals from the food and maintaining a constant 225 to 250 degree temperature seemed rather easy to do with the three vents on the bottom of the cooker.  In addition, I didn't see any negative reviews from those who owned this smoker compared to the numerous negative reviews I had read about other smokers.

After picking up the smoker at Home Depot, I built the unit (very fast and easy... it's just attaching the legs and the internal rack holders and the top handle) and got to smoking country ribs.  I used a Weber chimney starter to get the briquettes going and within about 45 minutes, I was up and running with a decent temperature in the smoker.  I used the "minion style" of charcoal positioning to guarantee a longer burn if needed.

In the end, the country ribs achieved a nice smoke ring and flavor from the Costco rub and also apple wood chunks (three) on the Kingsford briquettes.

I'm very happy with the flavor and results.  Next?  Brisket!!

Monday, May 8, 2017

Three Racks Of Barbecue Ribs


Using the secret recipe of my fishing buddy, I barbecued three racks of ribs for tonight's dinner on my Weber Spirit E-310 grill! Photos are the ribs before starting the barbecue process (marinated overnight)... and the finished product! Perhaps the best ribs I've barbecued to date! 3 hours and 15 minutes grill time!

Images taken with an Apple iPhone 6s+

Sunday, April 30, 2017

Blue Crabs


First time cooking Blue Crabs!

I've eaten blue crabs all my life, but I've never prepared them and cooked them myself!  I did it the Chinese way... ginger, scallions, soy sauce, water, black pepper and salt.  After cleaning the crabs, I stir-fried them in my outdoor wok.  It was a lot of fun!  Gotta do it again.

Plenty of smoke and flame generated from the wok helped give the crabs a nice "Wok Hei" flavoring.  Wok Hei means the "Breath of the Wok."  It's what gives Chinese food that restaurant quality flavor that you can't seem to get when cooking on your own stove.  Constant moving of the wok to get the flame onto the food is what creates that smoky Wok Hei flavor.

In the past few years, my interest in cooking seems to have taken off.  But I only like cooking in my cast iron skillets, dutch oven, or in this wok!  I'm a "gadgets" kind of guy in that I need gadgets to fiddle with.  These cooking tools make cooking fun for me.  If I had to just cook with regular teflon pans on a gas stove, I don't think I'd be as interested.

I like the concept of doing something that's a bit difficult for others to do.  Cooking with cast iron is relatively easy and non-stick, but unless you know how to do it properly, many people end up with food that just sticks to it.  With wok cooking, there's a technique to it as well.  If you want that Wok Hei flavor, you have to know how to do it.  I'm not 100% there yet, but I'm getting closer every time I try cooking something on the wok.  Playing with the right temperature, tossing the food with the right amount of oil and water as well as timing seems to be a key to success in wok cooking.  I'll get there eventually.

This website has a good explanation on how Wok Hei is achieved.  Click here.

Friday, April 7, 2017

Spam Musubi


My brother-in-law made Spam Musubi for me when I was in San Francisco last week. I had not eaten Spam since I got married and perhaps even up to 5 or more years before that... so roughly 36 or 37 years ago!
Spam Musubi is actually a popular thing in Hawaii. Seasoned with Furikake, sushi rice (rice with vinegar) is wrapped together with Spam and a sheet of Nori (seaweed) to make Spam Musubi.  My brother-in-law took the easy route and didn't shape the rice like this, but rather just gave me a bowl of rice with the Spam and the toppings. Still tasted pretty good no matter how it's shaped!
I purchased my first can of Spam in 37 years... ok... it's my first purchase ever since I never bought Spam, my dad did and fed it to us!

Monday, March 20, 2017

Chinese Cheong Fun


I've been on this kick of making Chinese Cheong Fun with Char Siu filling lately.

This is a favorite at Dim Sum restaurants and my mom taught me how to make it many years ago.  Traditionally, the wrapper is made with rice flour and water and then steamed.  Char Siu, which is Chinese barbecued pork is baked in advance.  While this is the traditional method, I don't make my cheong fun this way.

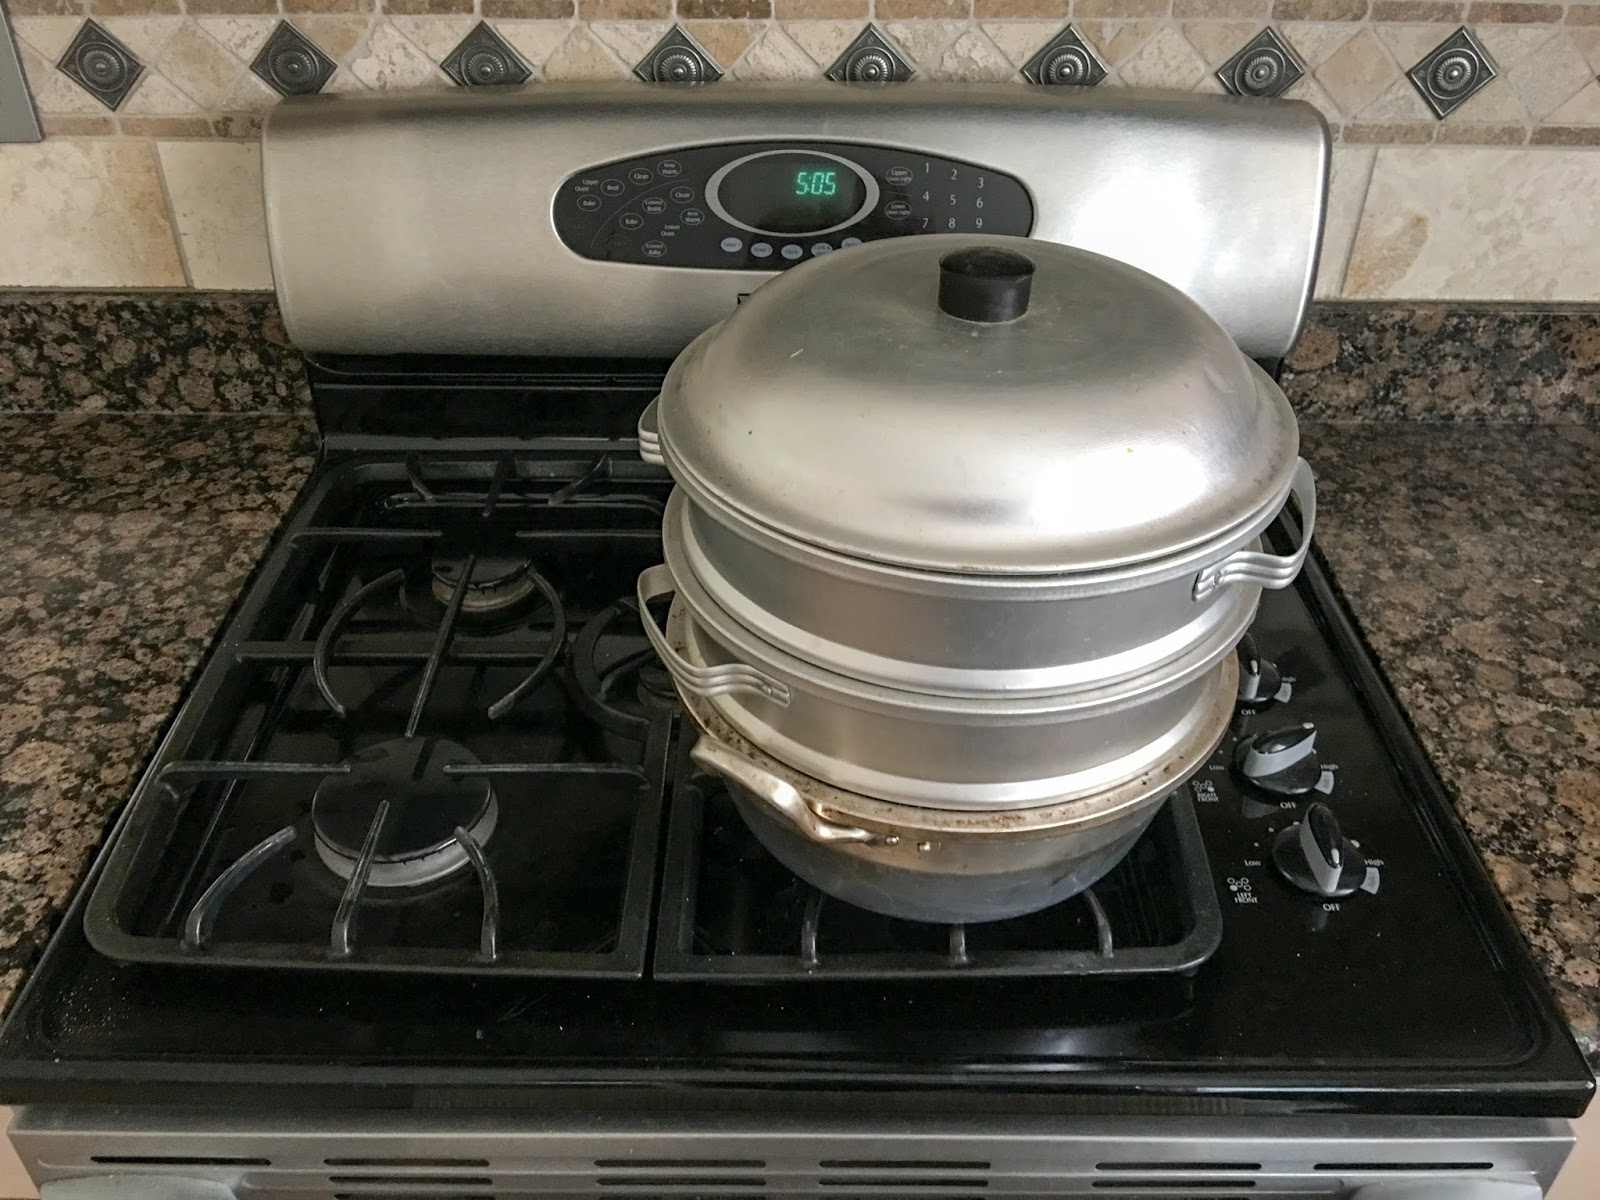
My mom taught me that if you substitute rice flour with "Swans Down" cake mix, it actually turns out pretty good!  1 cup of water is mixed with 3/4 cup of Swans Down.  Pour a very thin mixture of this into a slightly oiled aluminum pie pan and then add the char siu.  Steam for 8 minutes and you'll be done!  It could not be easier!

As a dipping sauce, mix light soy sauce with sugar and add a dash of sesame oil.  Thin out with a little bit of water if the soy sauce is too powerful tasting.

So far, I still seem to make the cheong fun a bit too thick though.  I need to learn to pour in less liquid before steaming.  I also have a problem rolling the final product without tearing the skin.  And, I don't seem to be able to slice the char siu thin enough.  They tend to be too thick.  Still, the final product tastes great regardless of how poorly I make it look.  Try the recipe and be sure to give my mom credit for the substitution of the rice flour with Swans Down cake flour!

Tuesday, January 24, 2017

Birthday Present From My Daughter


I finally built the birthday present my daughter bought for me! This heavy duty cart will be used when I'm cooking outdoors this coming Spring through Fall! I put a bunch of cast iron on it for now. It can handle up to 500 lbs of weight. The bamboo top is really heavy and can be used as a carving table if you want.

This cart has enough space for me to put all my condiments, cooking tools and cooking items on it when working outdoors on my gas wok and gas barbecue grill.

Monday, December 19, 2016

Lodge 3.5" Cast Iron Skillet - Perfect for Homemade "Egg McMuffins"!


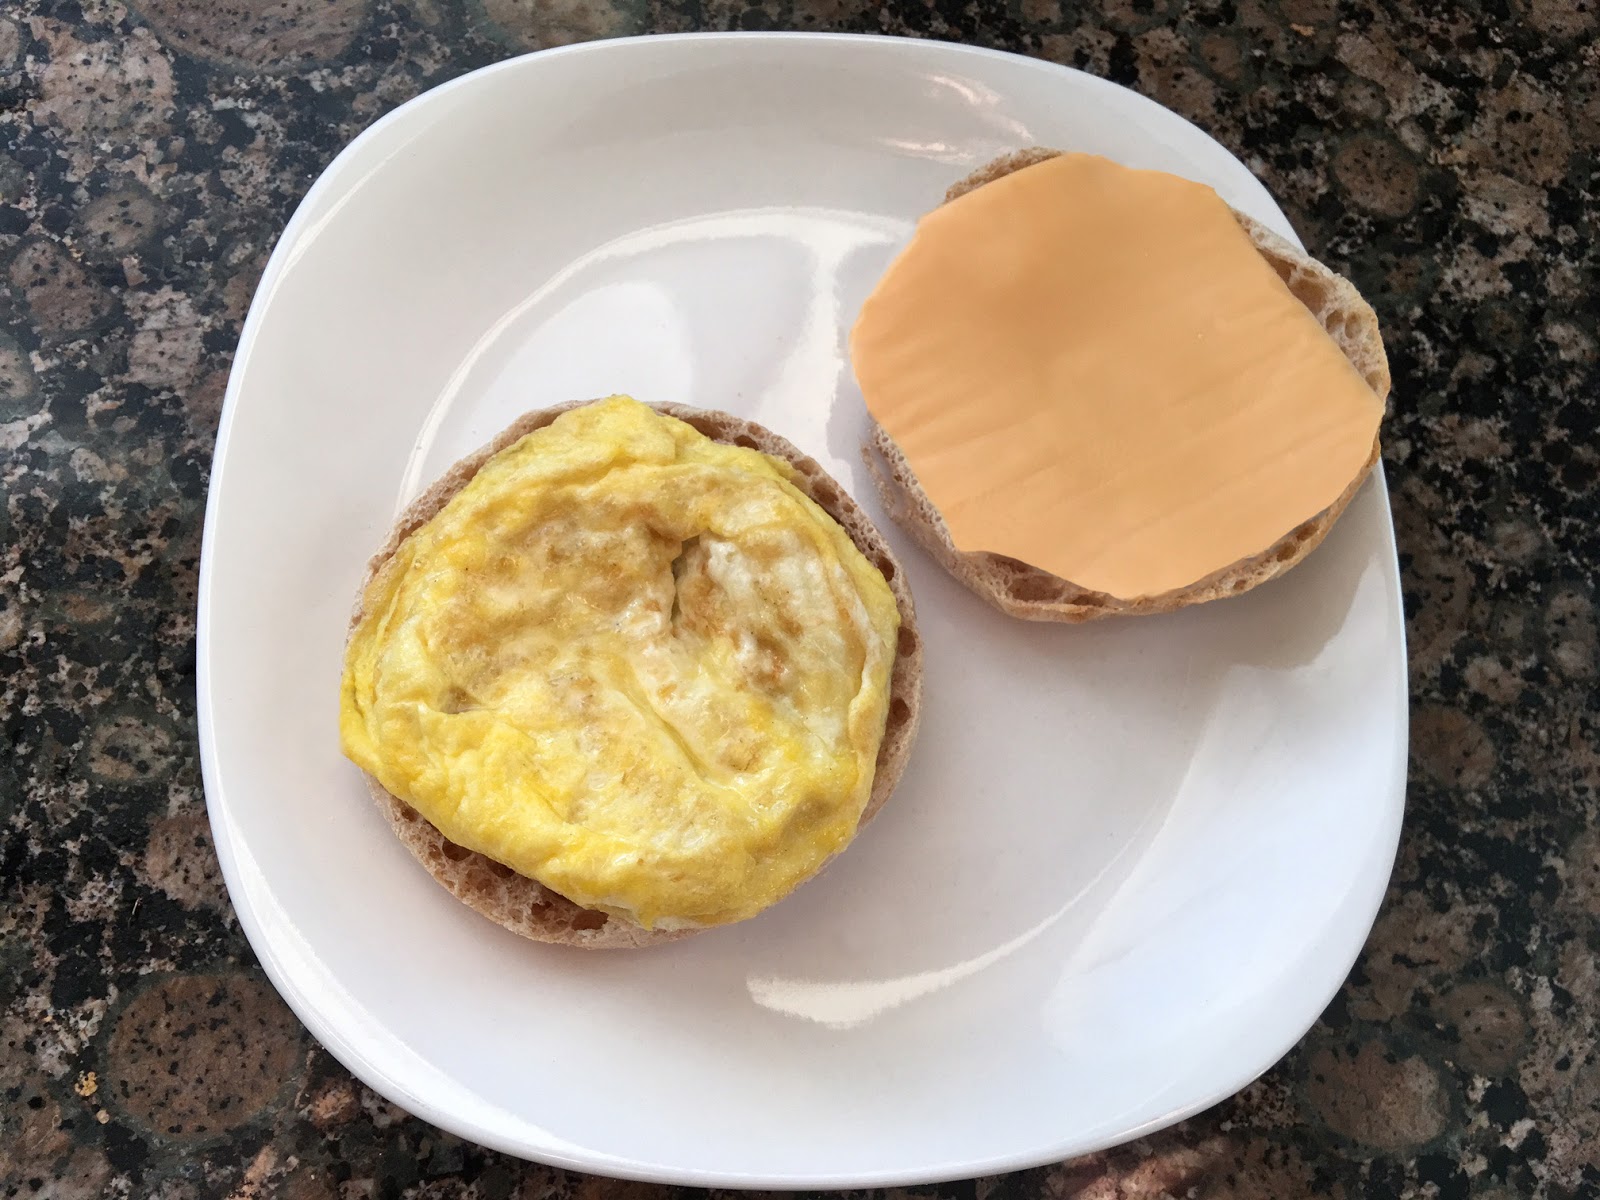
I made my own "Egg McMuffin" using my very small Lodge 3.5 inch skillet. Flipped it over onto a Griswold #3 to fry the second side. Too bad I didn't have some sausage to make it a Sausage McMuffin! But with just scrambled eggs, American cheese and a toasted English Muffin (buttered), it wasn't too bad! 

I start out with oil in the small Lodge skillet. Usually, it's too much oil in there, so then I drain it by dumping out the heated oil onto the Griswold #3. After the egg has set up in the small Lodge, I flip the egg onto the oiled Griswold. I could use butter, but since I butter the English muffin, I don't bother to butter the skillets and use vegetable oil instead. I found the key is to use low to medium heat on the skillets (like any other cast iron). I used a medium sized egg, but I really think even a small sized egg would work for an Egg McMuffin. I use a small silicone spatula to help guide the egg out since my other metal spatulas are too large.

Photos taken with an Apple iPhone 6s+

Below is a comparison of the Lodge 3.5 inch skillet to a Griswold #3 and Griswold #8 skillet.  Plus, I had to take a photo of the 3.5 inch skillet with a sunny side up egg in it too... just so it looks like the Lodge logo!  There's also a photo of one that I made with a ham slice, so honey mustard for sauce, an egg, cheese and an English muffin.  Not bad!


Sunday, September 18, 2016

Eastman Outdoors 37212 - 22" Carbon Steel Wok and Burner


 Long before going on a Cast Iron craze, I have been wanting to get a big burner and wok for a long time, so I purchased the Eastman Outdoors 37212 "Big Kahuna" from Amazon.  It works great!  Besides the burner and wok, you also get a stainless steel long handled spatula and laddle and a thermometer.  The only other thing you need is a propane tank (not included).

I've been wanting that "restaurant quality" taste to my Chinese food which is called "wok hei".  This literally translates to "the breath of the wok" and gives you the unique flavor that you can't get by cooking Chinese food over a conventional stove.  You need a LOT of heat to get that flavor as the oil on the wok smokes up while you cook your food.  Use either Peanut Oil or Vegetable oil when cooking on a wok... these have a higher smoke point than other oils.

The huge 22" carbon steel wok was seasoned for almost an hour.  I followed the technique that I saw on this YouTube video and it helped burn off the plastic-like coating that the wok comes with.  The coating is used to keep the wok from rusting before you receive it.  It really smelled bad while it was burning off, but there's no way you can cook with it on!!  Not safe!  But like the video, I did not scrub off the coating opting to burn it all off instead.  I then washed the wok and heated in some oil.

I had the flame a little too high and the oil in the wok caught on fire during the seasoning process!  Be careful not to do that because it leaves a black mess in the wok that can't be removed.  I worried a little about this at first but then accepted it because after lots of use, the bottom of the wok is going to look that same way anyway!

After spending nearly an hour to season the wok, I gave it a try by cooking rice noodles in it.  Wow!  Was it fast!  I cooked these in less than 4 minutes.  Next, I cooked up some chicken and bok choi.  Not as good as I hoped because I didn't season it well.  I'll do better next time.

After having our Chinese dinner, my family decided we should try some french fries to see how well it can fry!  So in about 3 minutes, frozen fries were cooked golden brown.  That's fast!  We also fried up some breaded zucchini's (I almost burned these... the oil was getting too hot!) and also some breaded green beans!  The beans were great at about 3 minutes as well.

This burner puts out 65,000 BTU's and the wok heats up super fast!  If you want quick food, this is it.

After dinner, I made sure the wok had a decent layer of oil on it before putting it away in the basement.  I'm bringing the wok and burner in the house after each use and storing it in our basement as I don't want the equipment to rust too quickly due to rain and dew, etc.

Well worthwhile if you want that restaurant quality taste (wok hei) to your Chinese food!

Tomorrow I am planning on cooking some fried rice in the wok and also will do some pan fried noodles with vegetables and char siu pork.

Follow-up:  Here's the fried rice from lunch the next day!  I find that the 22" wok is actually a good size!  At first, I thought it was too large, but after cooking fried rice, I don't think it is.  You move around a lot when stir frying and with a 22" wok, nothing goes flying out of the wok because it is so large!


Wednesday, June 1, 2016

Lodge 10.5 Inch Cast Iron Grill Pan Set


Always wanted one of these, so I picked up this Lodge 10.5 inch Cast Iron Grill Pan set from Costco for $19.99.  It comes with a silicone handle holder and a black grill pan scraper.  Not a bad deal!  I hope to use it on my new Weber grill for times when I don't want to grill directly on the grill grate.  Obviously, the silicone handle holder must be removed before putting on the grill!

Here are the first burgers using the grill pan.  Nice grill marks!

One side note... I'm not thrilled with the silicone handle holder.  When the handle is hot and you use it to lift the pan, it tends to want to slide off the handle due to the weight of the pan.  That's not good when you have a hot pan and can't grab the pan to prevent it falling without an accidental burn!  I much prefer the standard cloth handle holders to the silicone!  Be sure to use a cloth handle holder and wear an oven mitt on the other hand when transporting a hot grill pan!  Using the silicone handle holder is only good if you are not going to lift the pan while it is hot.

Tuesday, May 31, 2016

Weber Spirit E-310 Gas Grill


After owning a mediocre grill for many years, I finally purchased a good one... the Weber Spirit E-310 gas grill.

Recommended by America's Test Kitchen as the best gas grill for under $500 (check out the video here: https://youtu.be/mUPX-9zkMeA) I decided that larger wasn't necessarily better for the money.  I wanted a grill that could cook evenly throughout its grilling surface.  America's Test Kitchen's video convinced me that this grill would be the best.

Apparently Weber grills aren't discounted below a certain price from retailer to retailer, so my family and I decided to purchase the grill at Ace Hardware since they offered free assembly and delivery.  We went last Friday but found they did not deliver on the weekends.  Monday was Memorial Day, so we asked if they could deliver at 9 AM on Monday since we had a huge family party happening for lunch that day.  They said they could do it.

Sure enough,  precisely at 9 AM, the guys delivered the assembled grill!  I fired it up and grilled lots of burgers, hot dogs, brats, and kebobs for the party.  And just like the video said it would do, the grill performed perfectly!  I had the entire surface area of the grill covered with each type of entree and every time... no hot spots on the grill!  Each burger came out exactly the same as the other regardless of where that patty was located on the grill.  On my old grill, if I had the patties in the "sweet spot" where the heat was best, the other areas would not even cook at all!  You could expect the meat to be raw!  Not the case here.  Perfect grill marks on everything and nothing burnt!

After the burgers, I put on Hot Dogs, Brats and Kebobs and they all did the same thing.  Nothing burned and everything was evenly cooked with nice grill marks.  The grill grates are made with porcelain enameled cast iron so heat retention is very good.

High praises for this grill!  If you are in the market for a grill, consider the Weber Spirit E-310 grill.  While it is more expensive than most grills its size at $499 on sale, in my opinion, it's well worth it.

Wednesday, May 11, 2016

Five Guys Vs In-N-Out


How would I rate Five Guys Burger and Fries over In-N-Out Burger?

First, I'd consider taste... The In-N-Out to me is a bit tastier because it's greasier.  Some would say juicier.  But, the Five Guys has more toppings and condiment choices which are included in its price that adds tastes of its own. 

An In-N-Out Burger costs around $3.45 per Double Double (two patties, two slices of cheese).  The Little Cheese Burger from Five Guys is $4.59.  It's about the same size as the Double Double.  But you get only one patty and one slice of cheese.  However, you get a lot of condiments and toppings with the price of the Five Guys burger.

The fries are more costly at Five Guys but they give you a lot more.  It is also fried in peanut oil, which to me, makes it tastier.  There was supposed to be a secret menu like In-N-Out has, so I ordered their "Cheese Fries" (which was supposed to be a secret menu item).  I was told they didn't have Cheese Fries, just regular fries.  Disappointing!

In the end, the Five Guys cost more, has less meat and cheese but gives you more toppings and condiment choices for the money.  The In-N-Out burger is less expensive, greasier but tastier.

What's important to you?