Wednesday, June 7, 2017

Panacea Products 15347 - 30" Black Fireplace Poker


Never thought I'd blog about a fireplace poker (especially in June!) but I have to say, this Panacea Products 15347 - 30" Black Fireplace Poker is extremely well made!

I needed something to move the coals around in my Weber Smokey Mountain Cooker smoker.  I first used a long wooden dowel rod because that's all I had available at the time.  Bad idea since the coals started burning the dowel rod!  I decided that the best thing would probably be to look into a fireplace poker, so I went to Amazon and searched and found this high quality, inexpensive poker.

I have to say, it is so well made for an item that's under $17 including shipping!  It's all one piece so nothing detaches or can be broken or lost.  It does the job well too!  The small hook at the end of the poker allows me to pull coals towards me or push it to another location.  The hook on the other end allows it to be hung on something too if I want.

I've put a link to the poker if you need one.  Click on it and order one if you have a wood fireplace or a smoker!

Monday, June 5, 2017

ThermoWorks Smoke - 2-Channel Thermometer / Cooking Alarm


Just received my new ThermoWorks Smoke cooking alarm with remote!

I've been anxious to get my hands on this item since getting my new Weber Smokey Mountain Cooker smoker last week!  This two-channel thermometer alarm has a wireless remote that can go 300 ft (line of sight) from the main control unit.  This means I can now monitor the temperature of the smoker as well as the meat that is being smoked while staying inside my home instead of having to run outside to check on the thermometer on the smoker.  Plus, I won't need to even open the cover to the smoker to check the temperature of the meat either!

The base unit updates the remote every 15 seconds.  This is often enough.  If it were to constantly update it in real-time, it would eat up battery power faster.

I'll pass the two heat resistant probes wires through the rubber grommet that is on the side of the Weber Smokey Mountain smoker.  I won't need to close the top of the smoker on the probes because of this.

I'll have an update as soon as I do another smoking in about six days!  My next smoking will be another brisket!  I hope to do a full brisket this time.  Last time, I only did the flat of the brisket and not the point.

Sunday, June 4, 2017

The Fifth Smoking - Rib Smoke Off on the Weber Smokey Mountain Cooker 18.5"


Today I smoked up three full racks of ribs to see which recipe for ribs was best for my family.

I used the 18.5" Weber Smokey Mountain Cooker smoker with Kingston Original charcoal (blue bag) for fuel and Pecan wood chunks for the smoke.  The ribs were cooked for 3 hours and then removed and wrapped in aluminum foil and returned to the smoker for another 2 hours.  While other people recommend an additional hour on the smoker unwrapped, my family and I decided that the ribs were cooked long enough, so we skipped the last step of the "3-2-1 ribs" technique.

One rack of ribs had the secret recipe that was given to me by my fishing buddy Jim.  Another rack of ribs had Pork Barrel BBQ's All American Seasoning & Rub sprinkled on it with yellow mustard as a binder for the rub with Sweet Baby Ray's Sweet & Spicy barbecue sauce added after the ribs were wrapped with foil.  Finally, the third rack of ribs had yellow mustard as a binder and Costco's Flavor Connection Rib Rub & Seasoning on it only.

The photo of the ribs have Jim's rib recipe on the bottom right, the Sweet Baby Ray's ribs on the left and the rub only ribs on the top of the plate.

We all agreed that Jim's Ribs were the best, followed by Sweet Baby Ray's and finally, the ribs with only the rub coming in last.  This is not to say that any of them were bad.  We just had to rank them in order of preference.  However, we did think some modification needed to be done to Jim's ribs.

Jim's ribs has flavor by itself and did not need smoking.  We believe that the smoke from the Pecan wood added its own flavoring that changed the ribs beyond what it should have been.  In the future, we believe the best way to do his ribs would be to use his sauce recipe on the smoker with charcoal, but NO SMOKE from wood.  Essentially, this would be like indirectly barbecuing!

The other two ribs benefitted from the smoke.  The smoke added the quality you'd want in a smoked rib.  Sweet Baby Ray's sauce added a lot to the quality of those ribs.  The rub only ribs while good, just did not compete as well as the other two versions that had sauce on them.  In our opinion for ribs, you need sauce!!

Next week... more brisket!

Thursday, June 1, 2017

The Fourth Smoking On The Weber Smokey Mountain Cooker Smoker - Pulled Pork


My fourth smoke with the 18.5 inch Weber Smokey Mountain Cooker was a 5.5 hour cook of a 5.75 lb pork butt.  I've always wondered why this cut of meat was called a butt because it actually is the upper shoulder portion of the pig, not an actual butt.  Whatever... it's what many of us use to make "pulled pork".

I had watched a lot of YouTube videos describing how to smoke a pork butt and it seemed the key was to smoke it at 250 to 275 degrees at one to one and a half hours per pound.  Internal temperature should reach at least 195 degrees to 210 degrees.

I used Hickory wood for the smoking and the usual Kingsford Original (blue bag) charcoal for the fuel.  The seasoning was another rub that I purchased at Costco... Pork Barrel BBQ's All American Seasoning and Rub.  It was less colorful as the Costco rub I had been using for the past three cooks, but it seemed to taste essentially the same to me.  I used yellow mustard as a binder to help the rub stick.  It has been said that you won't taste the mustard after the cooking is done.  So far, I think that's a true statement.

I was able to maintain the temperature of the smoker at 250 to 275 degrees throughout the 5.5 hours.  I suppose I am getting better at regulating the bottom vent's air flow with practice!  It was less windy today however.

I basted the pork butt with apple juice at the first and second hour but by 2.5 hours, I decided it was time to wrap the meat with aluminum foil.  I added additional apple juice to let the meat stay moist in the foil.  I kept monitoring the temperature for the next 3 hours.  I also put some Sweet Baby Rays BBQ sauce in a cast iron skillet and heated it up in the smoker for about 1/2 hour.

After the smoking was done, I took the butt out of the smoker and placed it on a cutting board and let the butt sit for at least one half hour to let the juices get back into the meat before attempting to pull the meat apart.  The bone from the butt came out easily without any meat on it... a true sign that the butt was done.  The butt came apart really easy.

I guess I'm getting better at smoking!  In a few days, I'm going to attempt three different styles of ribs on the smoker!
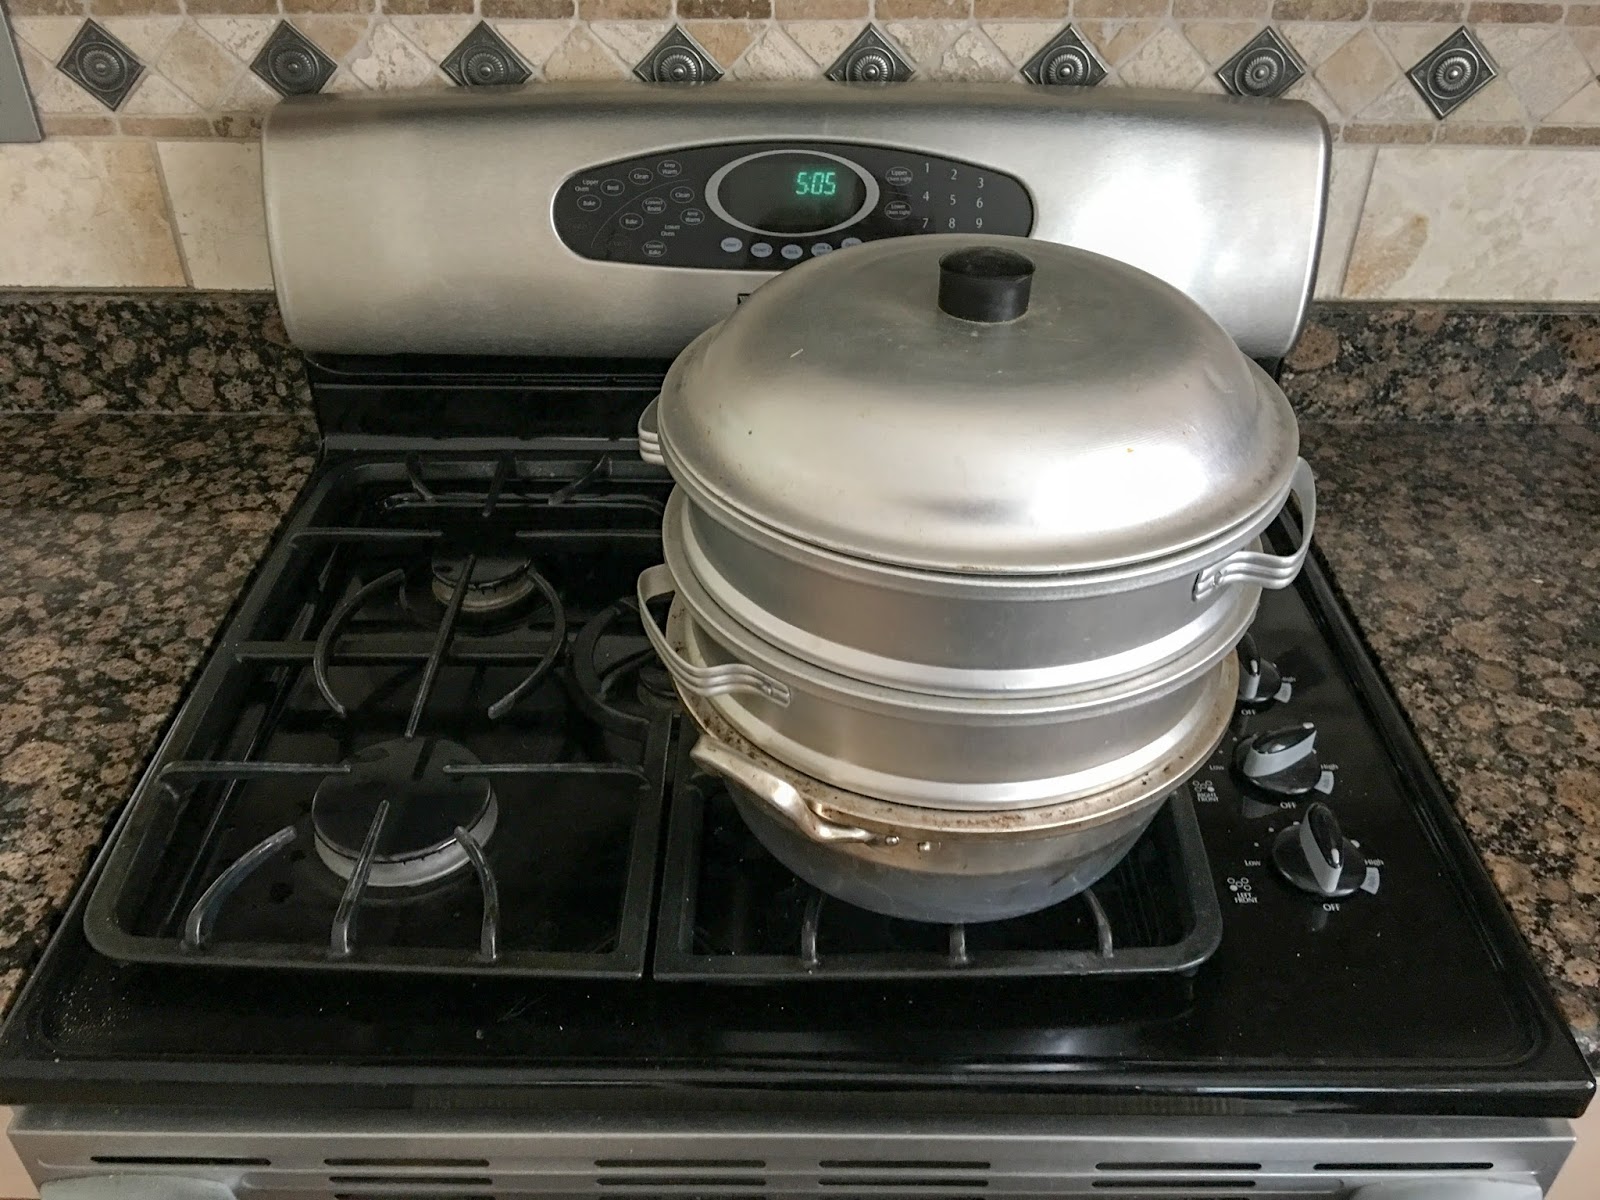
Monday, May 29, 2017

Smoking A Brisket on the Weber Smokey Mountain Cooker


Today was the third smoking using the Weber Smokey Mountain smoker!  It was my first time smoking brisket!

The brisket was only about 4-5 lbs. I used Kingston Original charcoal and positioned the briquettes using the Minion method of putting hot coals in the middle surrounded by unlit coals.  Because the meat was not a full brisket, the cook time was a lot less time than what some experts need for a full brisket. The rub was applied about a day and half in advance only because I didn't get a chance to cook it yesterday! I used Costco's Rib Rub and smoked with Apple wood.  Initial cook time was 2 hours and I sprayed the brisket after the first hour with apple juice and also at the second hour when the brisket reached 195 degrees.  I took it off the smoker at this point and put it in aluminum foil and let it rest for 1/2 hour inside of a cooler.  After putting the brisket back on the smoker, it stayed there for a total of two more hours.  From start to finish, the time was 4.5 hours.


The pit temp was ranging between 225 degrees and 325 degrees!  Since there was direct sunlight on the smoker, the temp rose as high as 325 degrees, but I was always able to bring that temperature down by closing down the lower air vents.  I tried to keep it as close to 250 to 275 degrees.  I can't wait for my new ThermoWorks Smoke thermometer / alarm to arrive.  With it, I will know when temperatures of both the pit and also the meat go above or below preset temperature levels.  The remote will allow me to stay indoors and still monitor the temperatures.


I took the brisket off the smoker and opened up the aluminum foil and let the meat rest for at least 1/2 hour.  My nephew Frank and his family came over and he sliced the brisket.  Frank has been smoking meat for quite a while now and has successfully used his Traeger pellet smoker for many family occasions.  He said the brisket wasn't bad for a first attempt!  However, I believe I could have left the brisket on for perhaps another hour if I wanted it more tender.  There was plenty of juice in the meat to have kept it going.


Many barbecue fans say that doing a good brisket is the test of the skill of the cook.  I can see that we'll be doing this more often!   

Sunday, May 28, 2017

Second Smoking on the Weber Smokey Mountain Cooker - Chicken Drumsticks


I was planning on smoking brisket today for my second use of my new smoker, but too many other things got in the way. So instead, I decided to smoke chicken drumsticks since they were on sale for $0.39 / lb!

This is the second smoking on the Weber Smokey Mountain smoker! Smoke time was 2.75 hours. There is another rack of drumsticks below the rack of drumsticks you see in the photos. You can see a ThermoWorks RT600C Pocket Thermometer sticking into the side of the smoker through the rubber gasket to check internal temp of the smoker.  I am doing this until my new ThermoWorks Smoke remote thermometer/alarm comes in this coming week.


Chicken was cooked to 165 degree internal temperature.  Smoker temp was 225 degrees.  Once again, I used Costco's Rib Rub & Seasoning with three chunks of Apple wood for the smoke.  Kingsford's Original briquettes were used for the fuel.


I had some used briquettes left over from the cook of the country ribs from two days ago so I decided to use them in addition to some new ones.  I found that the used briquettes burned off a lot quicker and after the 2.75 hours, the burn was already diminishing.  Luckily, the chicken did not need more than 2.75 hours, so it all worked out.  But I think if I am going to smoke something like brisket that requires really long cook times, the only way to go is brand new, fresh briquettes!


Home Depot (along with other retailers) had two bags of 18.6 lb Kingsford Original briquettes for only $9.88 for the Memorial Day weekend.  I purchased 14 bags (7 packs), so I have plenty of fuel for the summer!

Friday, May 26, 2017

Weber Smokey Mountain Cooker Smoker - 18.5 Inch


After much research and agonizing over which smoker would be best for my family, I decided on the Weber Smokey Mountain Cooker smoker - 18.5 inch version!

I was debating to get either a Traeger pellet smoker or perhaps a Masterbuilt electric smoker, but decided that to get that real smoke flavor, I needed to go to charcoal smoking with wood chunks added.

My nephew has a Traeger and the quality of his food is top notch!  But I also read that some of the Traegers had issues with the auger not pushing the pellets consistently and that it could clog.  Also, some Traegers were running heat way above the settings on the electronics and causing all sorts of problems.  While this has not happened to those whom I know have one, it has happened to others.

The electric smokers to me seemed more like an outdoor electric oven more than anything else and that the small wood chips used just would not be enough to get that barbecue flavor that we all want.

In the end, after researching the various charcoal smokers out there, the Weber Smokey Mountain Cooker smoker made the most sense to me.  Flare ups are controlled by the water pan that separates the coals from the food and maintaining a constant 225 to 250 degree temperature seemed rather easy to do with the three vents on the bottom of the cooker.  In addition, I didn't see any negative reviews from those who owned this smoker compared to the numerous negative reviews I had read about other smokers.

After picking up the smoker at Home Depot, I built the unit (very fast and easy... it's just attaching the legs and the internal rack holders and the top handle) and got to smoking country ribs.  I used a Weber chimney starter to get the briquettes going and within about 45 minutes, I was up and running with a decent temperature in the smoker.  I used the "minion style" of charcoal positioning to guarantee a longer burn if needed.

In the end, the country ribs achieved a nice smoke ring and flavor from the Costco rub and also apple wood chunks (three) on the Kingsford briquettes.

I'm very happy with the flavor and results.  Next?  Brisket!!

Monday, May 8, 2017

Three Racks Of Barbecue Ribs


Using the secret recipe of my fishing buddy, I barbecued three racks of ribs for tonight's dinner on my Weber Spirit E-310 grill! Photos are the ribs before starting the barbecue process (marinated overnight)... and the finished product! Perhaps the best ribs I've barbecued to date! 3 hours and 15 minutes grill time!

Images taken with an Apple iPhone 6s+

Sunday, April 30, 2017

Blue Crabs


First time cooking Blue Crabs!

I've eaten blue crabs all my life, but I've never prepared them and cooked them myself!  I did it the Chinese way... ginger, scallions, soy sauce, water, black pepper and salt.  After cleaning the crabs, I stir-fried them in my outdoor wok.  It was a lot of fun!  Gotta do it again.

Plenty of smoke and flame generated from the wok helped give the crabs a nice "Wok Hei" flavoring.  Wok Hei means the "Breath of the Wok."  It's what gives Chinese food that restaurant quality flavor that you can't seem to get when cooking on your own stove.  Constant moving of the wok to get the flame onto the food is what creates that smoky Wok Hei flavor.

In the past few years, my interest in cooking seems to have taken off.  But I only like cooking in my cast iron skillets, dutch oven, or in this wok!  I'm a "gadgets" kind of guy in that I need gadgets to fiddle with.  These cooking tools make cooking fun for me.  If I had to just cook with regular teflon pans on a gas stove, I don't think I'd be as interested.

I like the concept of doing something that's a bit difficult for others to do.  Cooking with cast iron is relatively easy and non-stick, but unless you know how to do it properly, many people end up with food that just sticks to it.  With wok cooking, there's a technique to it as well.  If you want that Wok Hei flavor, you have to know how to do it.  I'm not 100% there yet, but I'm getting closer every time I try cooking something on the wok.  Playing with the right temperature, tossing the food with the right amount of oil and water as well as timing seems to be a key to success in wok cooking.  I'll get there eventually.

This website has a good explanation on how Wok Hei is achieved.  Click here.

Friday, April 7, 2017

Spam Musubi


My brother-in-law made Spam Musubi for me when I was in San Francisco last week. I had not eaten Spam since I got married and perhaps even up to 5 or more years before that... so roughly 36 or 37 years ago!
Spam Musubi is actually a popular thing in Hawaii. Seasoned with Furikake, sushi rice (rice with vinegar) is wrapped together with Spam and a sheet of Nori (seaweed) to make Spam Musubi.  My brother-in-law took the easy route and didn't shape the rice like this, but rather just gave me a bowl of rice with the Spam and the toppings. Still tasted pretty good no matter how it's shaped!
I purchased my first can of Spam in 37 years... ok... it's my first purchase ever since I never bought Spam, my dad did and fed it to us!

Monday, March 20, 2017

Chinese Cheong Fun


I've been on this kick of making Chinese Cheong Fun with Char Siu filling lately.

This is a favorite at Dim Sum restaurants and my mom taught me how to make it many years ago.  Traditionally, the wrapper is made with rice flour and water and then steamed.  Char Siu, which is Chinese barbecued pork is baked in advance.  While this is the traditional method, I don't make my cheong fun this way.

My mom taught me that if you substitute rice flour with "Swans Down" cake mix, it actually turns out pretty good!  1 cup of water is mixed with 3/4 cup of Swans Down.  Pour a very thin mixture of this into a slightly oiled aluminum pie pan and then add the char siu.  Steam for 8 minutes and you'll be done!  It could not be easier!

As a dipping sauce, mix light soy sauce with sugar and add a dash of sesame oil.  Thin out with a little bit of water if the soy sauce is too powerful tasting.

So far, I still seem to make the cheong fun a bit too thick though.  I need to learn to pour in less liquid before steaming.  I also have a problem rolling the final product without tearing the skin.  And, I don't seem to be able to slice the char siu thin enough.  They tend to be too thick.  Still, the final product tastes great regardless of how poorly I make it look.  Try the recipe and be sure to give my mom credit for the substitution of the rice flour with Swans Down cake flour!